Protective coatings are essential for maintaining your car’s appearance and extending the life of paint and decals. With the right preparation and technique, you can achieve a professional finish at home.
Step 1: Choose the Right Coating
- Ceramic Coatings: Provide long-lasting protection against UV rays, dirt, and minor scratches.
- Sealants: Synthetic polymer coatings that offer durability and gloss.
- Wax: Traditional protection that enhances shine but requires frequent reapplication.
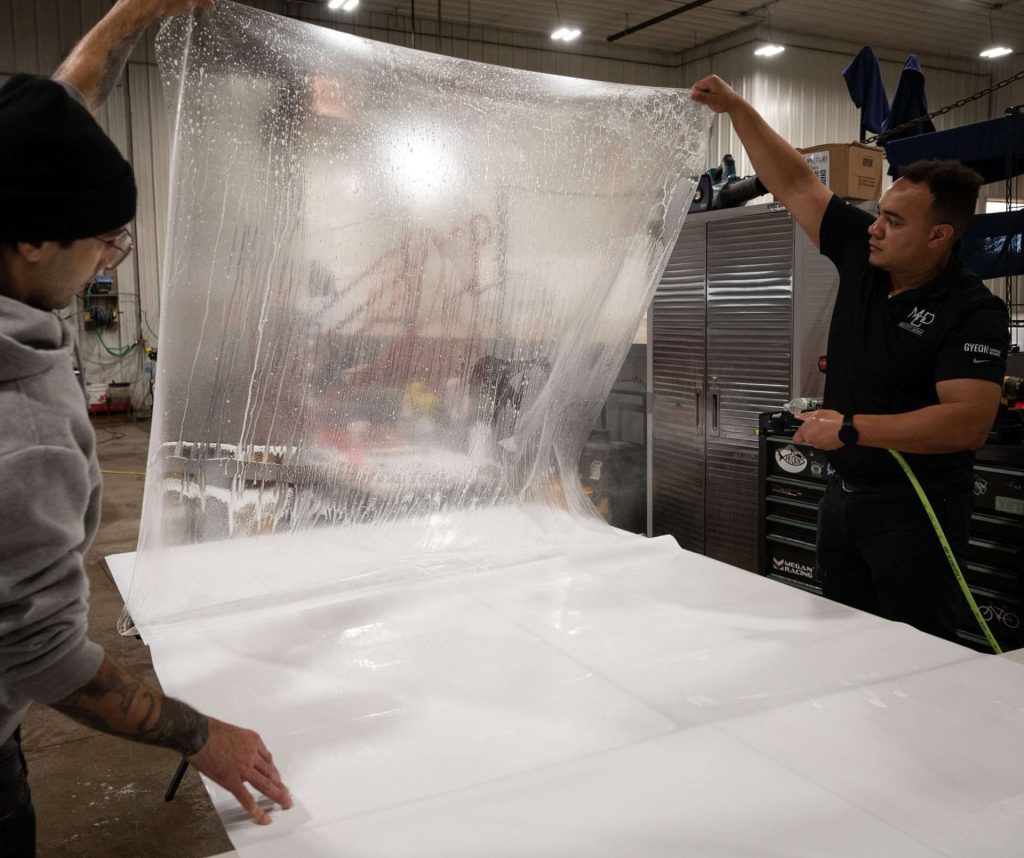
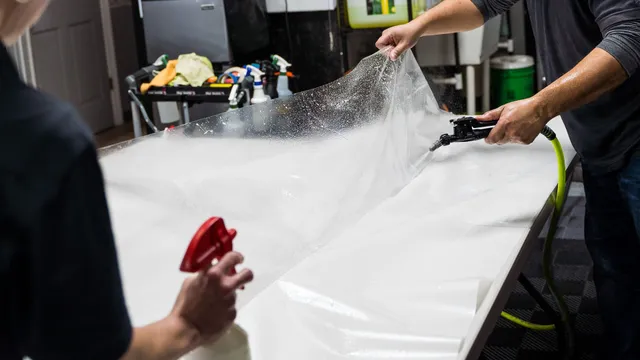
Step 2: Prepare the Surface
Thoroughly wash and dry your car. Remove all dirt, grease, and wax residues. For best results, clay bar the surface to remove embedded contaminants.
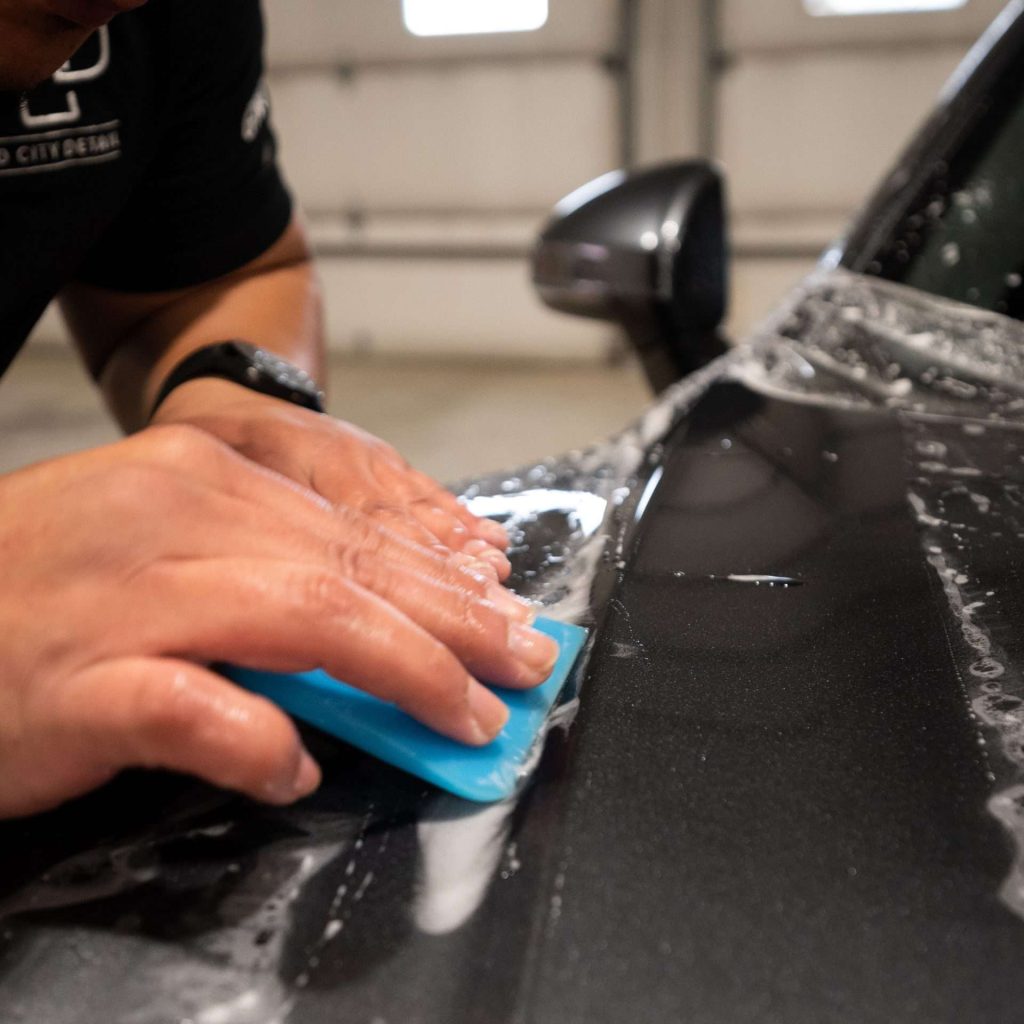
Step 3: Apply the Coating
- Work in a shaded area to prevent streaking.
- Follow the manufacturer’s instructions carefully for the amount and application method.
- Use an applicator pad to spread the coating evenly over small sections at a time.
- Buff off excess coating with a clean microfiber cloth to avoid hazy spots.
Step 4: Curing and Maintenance
- Allow the coating to cure for the recommended time. Avoid washing or exposing the car to harsh conditions during this period.
- Regularly wash the car with a pH-neutral shampoo to preserve the coating.
- Reapply as necessary depending on the type of coating and wear.
Tips for Success
- Always work on a cool surface to prevent uneven application.
- Apply coatings in thin, even layers—less is more.
- Wear gloves to protect your hands from chemicals.
- Test a small area first to ensure compatibility with your paint.
Applying protective coatings correctly enhances your car’s finish and keeps custom designs and murals looking vibrant for years. With practice, anyone can achieve a polished, professional result.