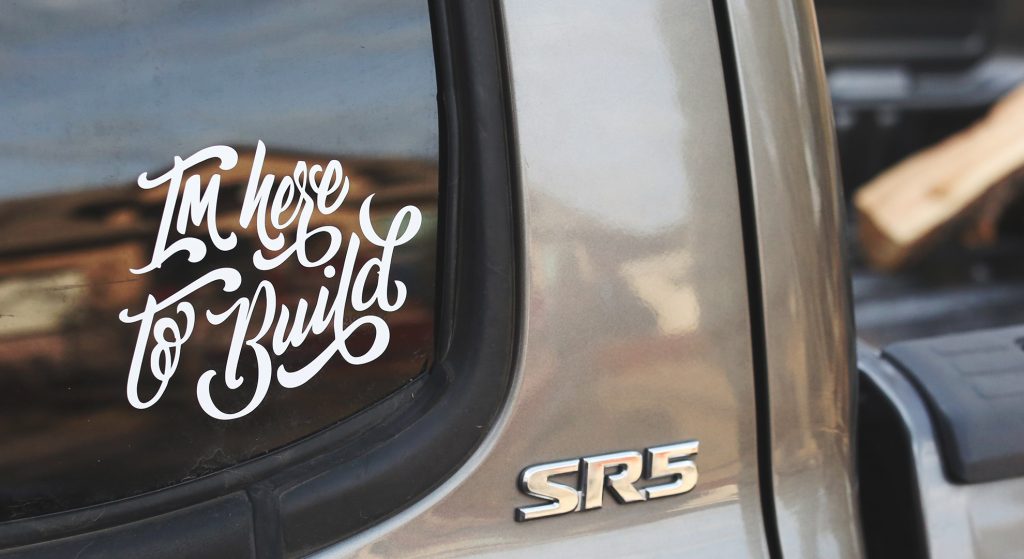
Custom vinyl decals are a simple and effective way to personalize your car. With the right tools and techniques, you can create designs that reflect your style and make your vehicle stand out.
Materials You’ll Need
- High-quality adhesive vinyl sheets
- Cutting tool or vinyl cutter
- Transfer tape
- Squeegee or soft cloth
- Ruler and masking tape for alignment
Designing Your Decal
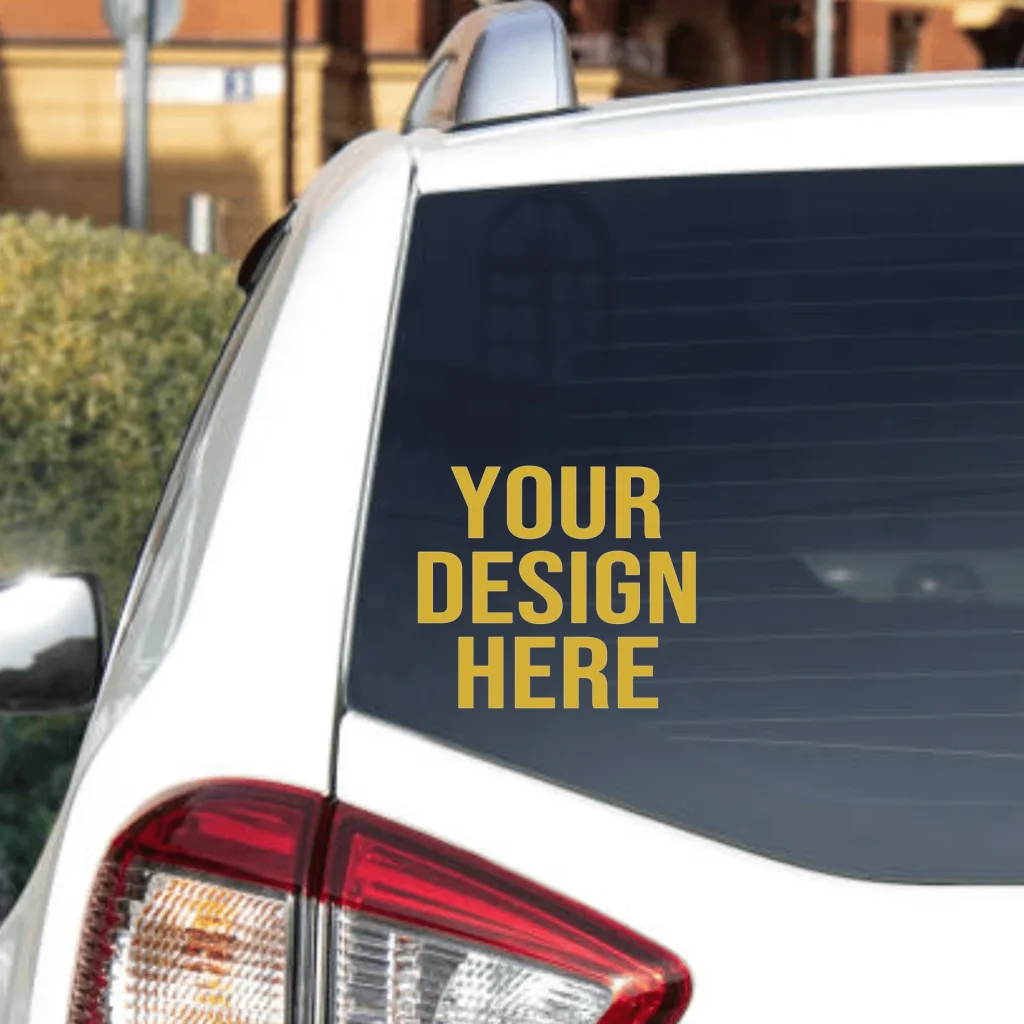
Start by creating your design digitally. Use design software to plan shapes, letters, or logos. Keep in mind the size and curvature of your car surface for a perfect fit.
Cutting and Preparing the Vinyl
- Load your vinyl sheet into a cutter or carefully cut by hand.
- Remove excess vinyl around your design, leaving only the elements you want to apply.
- Apply transfer tape over the design to keep all parts aligned during installation.
Applying the Decal
- Clean the surface of your vehicle thoroughly. Any dust or grease can prevent proper adhesion.
- Position the decal using masking tape as a guide.
- Carefully press the decal onto the surface using a squeegee or soft cloth, working from the center outward to avoid air bubbles.
- Slowly remove the transfer tape, ensuring the decal remains in place.
Tips for Best Results
- Apply decals in a shaded area or garage to prevent direct sunlight from affecting adhesion.
- For curved surfaces, gently heat the vinyl with a hair dryer to make it more flexible.
- Seal edges with a clear coat for long-lasting durability.
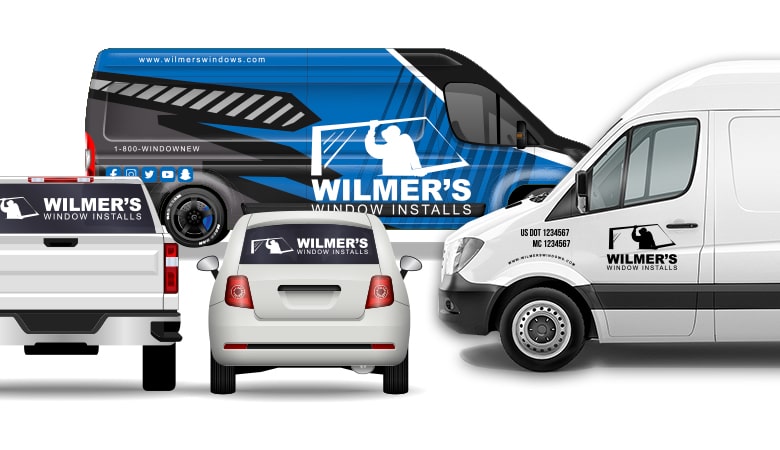
Creating your own vinyl decals allows you to customize your car with logos, patterns, or even personal messages. With patience and attention to detail, your vehicle can become a moving canvas.