Upgrading your car with LED lights is a creative way to give it a modern, futuristic appearance. With the right materials and careful installation, you can enhance both aesthetics and visibility.

Step 1: Choose the Right LEDs
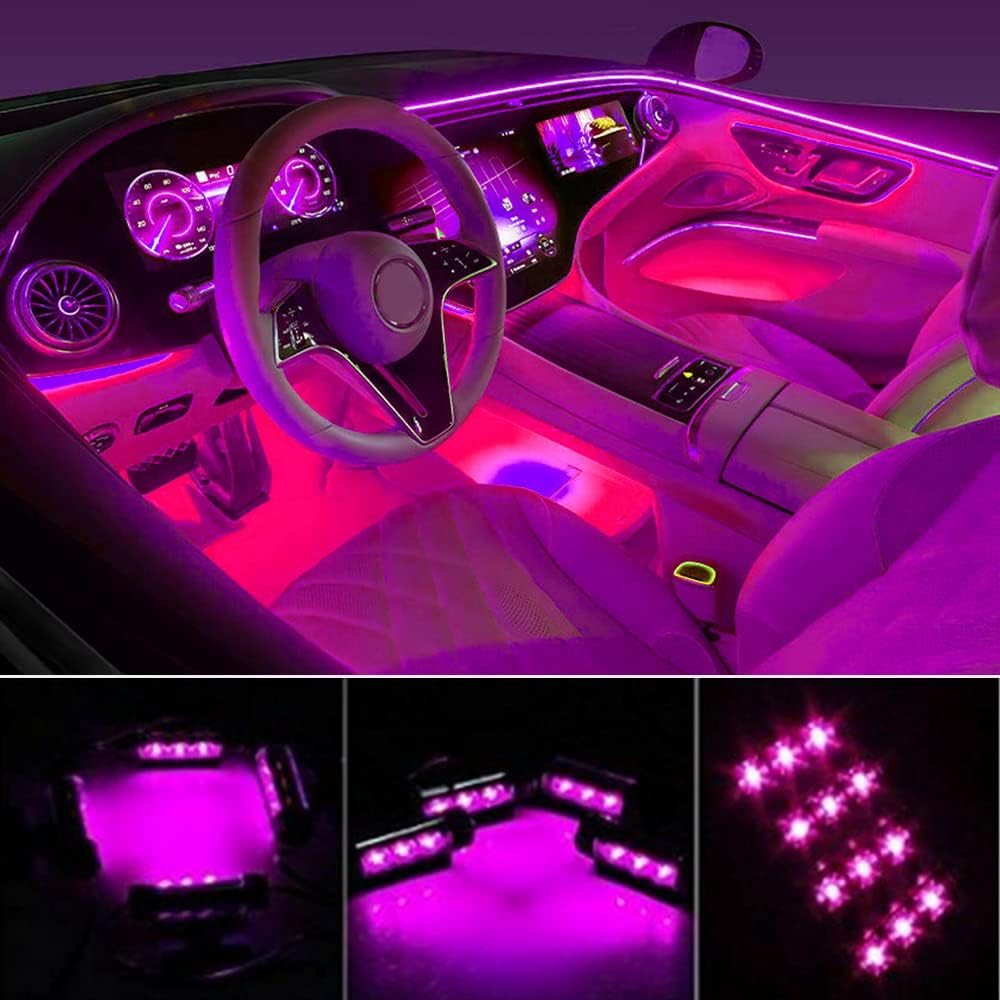
- Interior LEDs: Strip lights for footwells, dashboards, or accent lighting.
- Exterior LEDs: Underglow kits, grille lights, or accent lighting around mirrors.
- Color Options: RGB LEDs allow you to change colors, while single-color LEDs offer a consistent look.
Step 2: Gather Tools and Materials
- LED strips or modules
- Power supply or adapter
- Wiring kit, connectors, and fuses
- Electrical tape or heat shrink tubing
- Switches or remote control (if applicable)
Step 3: Plan Your Installation

- Decide where each LED will be placed and how wiring will run.
- Measure surfaces and mark positions before attaching strips.
- Ensure access to power without interfering with the vehicle’s electronics.
Step 4: Install the LEDs
- Clean the surfaces where LEDs will be mounted.
- Attach LED strips using adhesive backing or brackets.
- Connect wires to the power source and secure all connections.
- Test the lights before finalizing installation to ensure proper function.
Step 5: Finishing Touches
- Hide or secure wiring with clips or channels to prevent movement.
- For RGB systems, set your preferred colors or program dynamic effects.
- Double-check that lights do not distract other drivers or violate local traffic laws.
Tips for Success
- Work in a well-lit, organized space to avoid mistakes.
- Follow manufacturer instructions for voltage and wiring limits.
- Keep safety in mind—disconnect the battery when working with electrical components.
- Experiment with placement and angles for the best visual impact.
DIY LED upgrades can dramatically transform your car’s interior and exterior, giving it a unique, futuristic personality. With careful planning and creativity, your vehicle will stand out on the road.