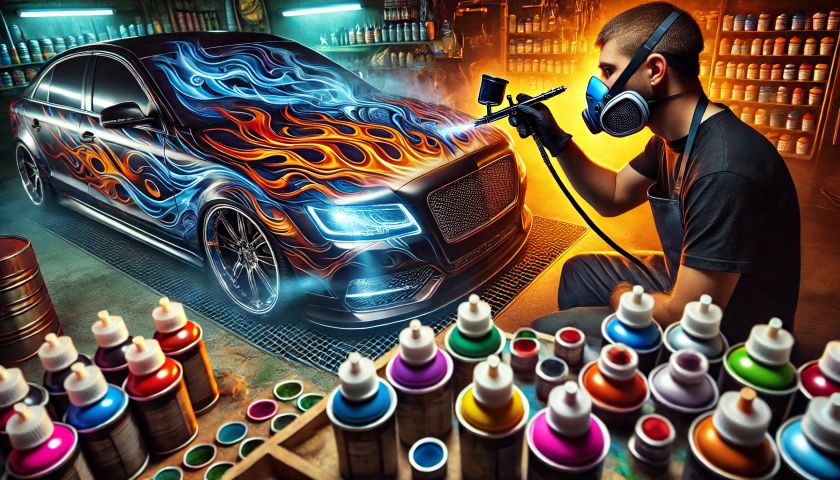
Creating custom colors is one of the most exciting ways to personalize your car. By understanding color theory and proper mixing techniques, you can achieve unique shades that make your vehicle stand out.
Step 1: Understand Color Basics
- Primary Colors: Red, blue, and yellow. All other colors are mixed from these.
- Secondary Colors: Green, orange, and purple, created by combining primary colors.
- Tertiary Colors: Blend primary and secondary colors for more subtle shades.
Step 2: Choose Your Paint Type
- Automotive Paint: Ensure it is compatible with your car’s finish.
- Basecoat and Clearcoat: Use a basecoat for color and a clearcoat for protection and shine.
Step 3: Prepare Your Workspace
- Work in a well-ventilated, dust-free area.
- Wear protective gear such as gloves and a respirator mask.
- Use clean containers and mixing sticks to avoid contamination.
Step 4: Mixing Techniques
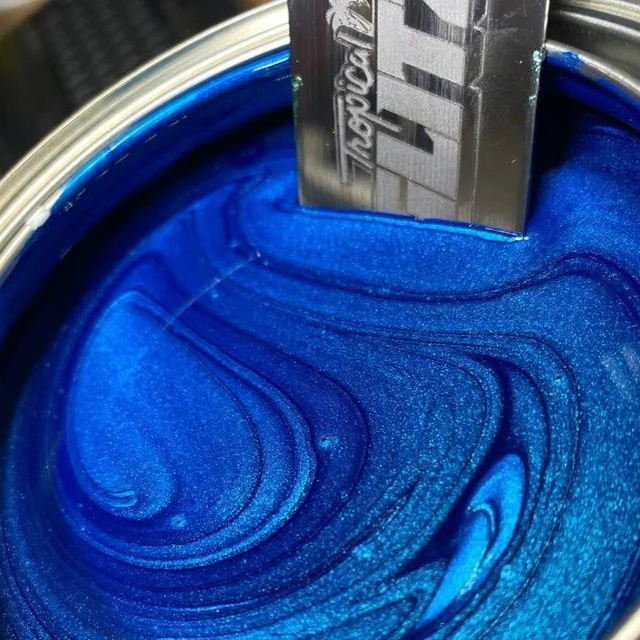
- Start with small test batches before mixing larger quantities.
- Add colors gradually to control the shade and avoid overshooting the desired tone.
- Keep track of ratios to reproduce the same color in the future.
- Use a paint shaker or stir thoroughly for even consistency.
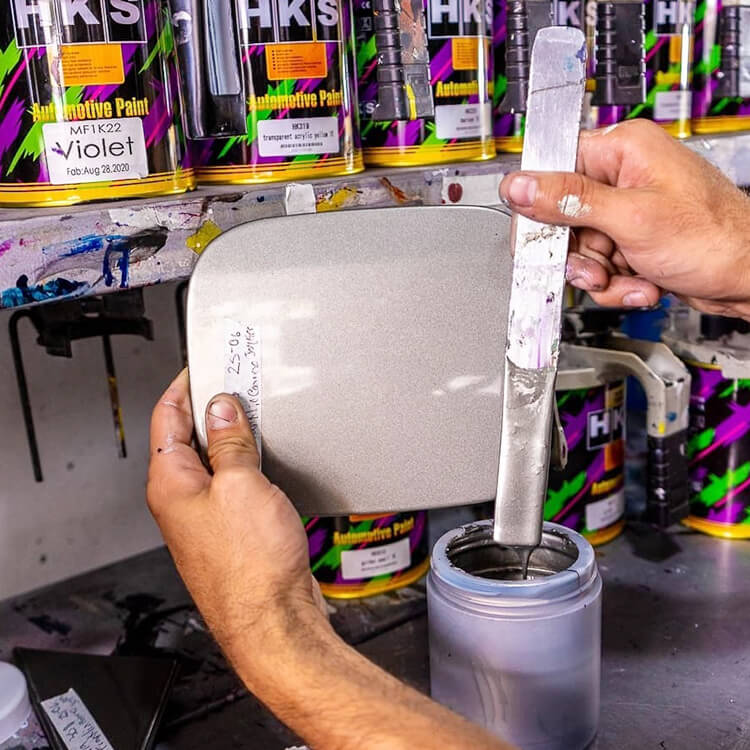
Step 5: Test and Apply
- Test your custom color on a small panel or sample surface.
- Adjust as necessary before painting the actual car panel.
- Apply in thin, even layers, allowing each coat to dry before adding the next.
Tips for Success
- Document every mix for future reference.
- Use complementary colors to enhance depth and vibrancy.
- Practice on scrap panels to perfect blending and shading.
- Always finish with a clear coat for protection and gloss.
Mixing your own automotive colors opens a world of creative possibilities. With patience, experimentation, and careful technique, you can achieve a truly one-of-a-kind finish for your car.