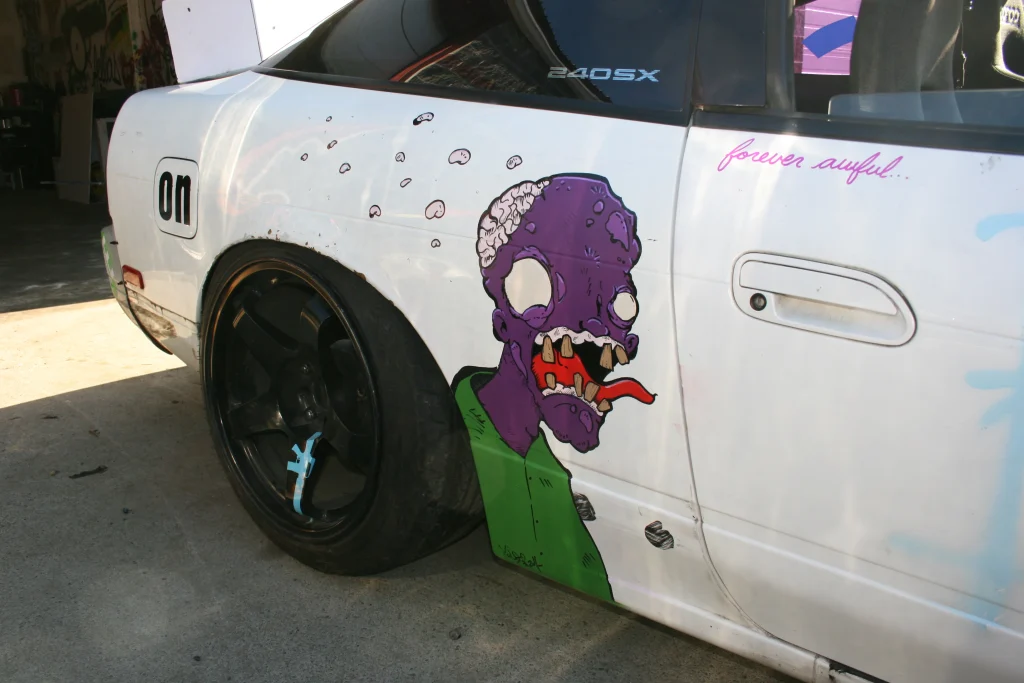
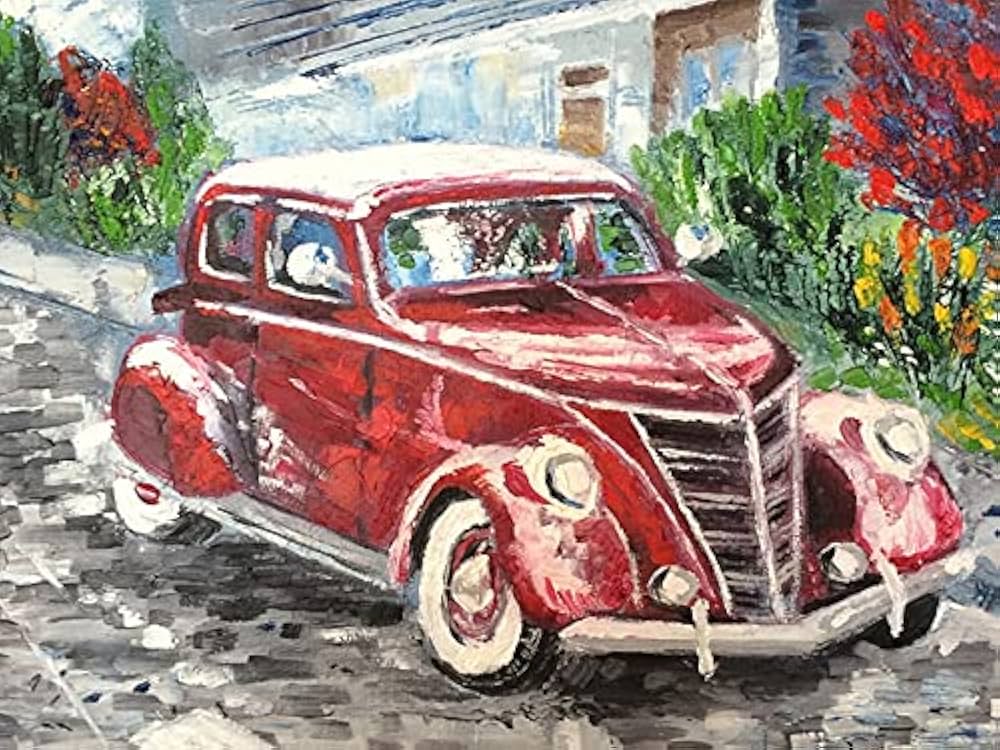
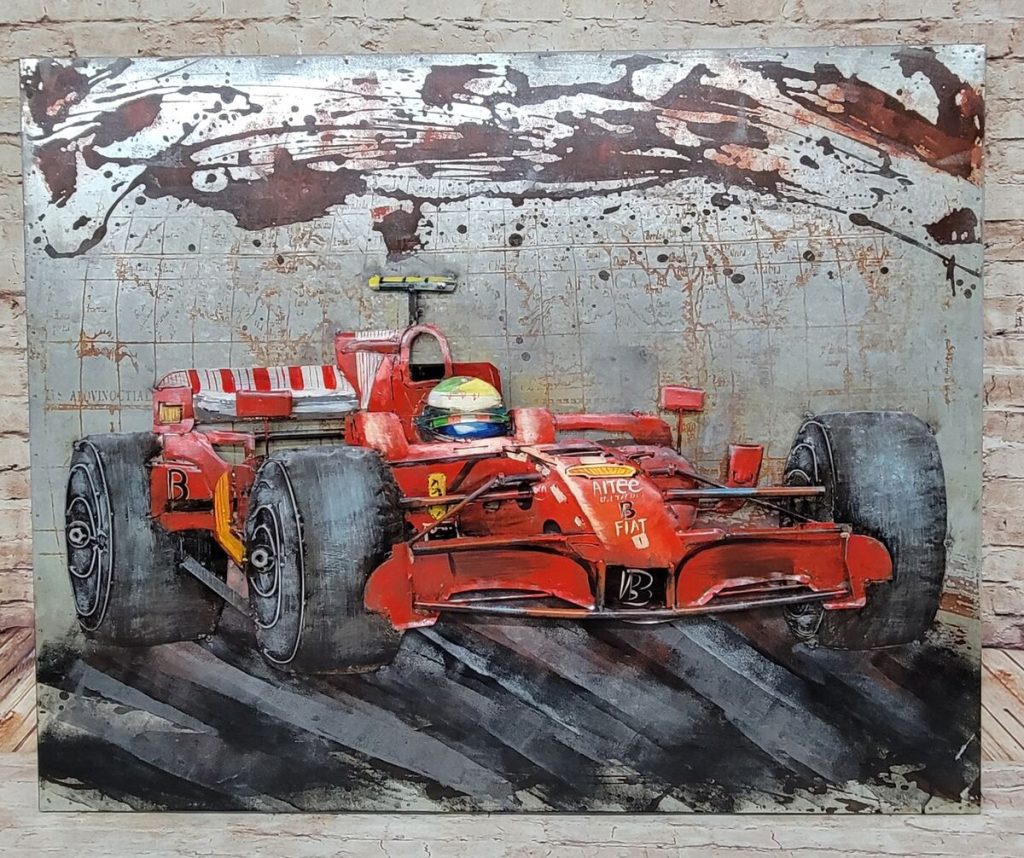
Hand-painted car murals are a bold way to transform your vehicle into a moving work of art. With some preparation, patience, and the right materials, you can create stunning designs at home.
Materials You’ll Need
- Automotive-grade paint and clear coat
- Paintbrushes of various sizes
- Painter’s tape and stencils
- Sandpaper (fine grit)
- Rubbing alcohol or surface cleaner
- Drop cloths or protective coverings
Step 1: Prepare the Surface
Thoroughly clean the car panel where you’ll paint the mural. Remove dirt, grease, and wax using rubbing alcohol. Lightly sand the area to help the paint adhere better.
Step 2: Plan Your Design
Sketch your mural on paper first. Consider the contours of your car, colors, and composition. You can also use stencils or masking tape to outline shapes directly on the vehicle.
Step 3: Apply Base Layers
Start with a base coat if necessary. Use light, even layers of paint to cover the panel. Allow each layer to dry completely before adding the next.
Step 4: Add Details
Using smaller brushes, begin adding details, shading, and highlights. Work gradually from broad areas to finer elements. Take breaks to step back and view the mural from a distance.
Step 5: Finishing Touches
Once your mural is complete and dry, apply a clear coat to protect the paint from weather and wear. Allow the coating to cure according to the manufacturer’s instructions.
Tips for Success
- Practice on scrap panels or cardboard before painting directly on the car.
- Work in a well-ventilated area and wear protective gear.
- Patience is key—don’t rush; layers and details take time to perfect.
- Use contrasting colors to make your design pop.
Hand-painted murals can turn any car into a personal statement. With creativity and careful execution, your vehicle can become a striking showcase of your artistic vision.